
How to Turn App Screenshots Into a Narrated Demo Video
You don't need to record your screen to make a product demo video: feed a handful of app or website screenshots into a screenshot-to-video pipeline, and it plans a script, writes narration per screen, generates the voiceover, and renders the sequence into one video.
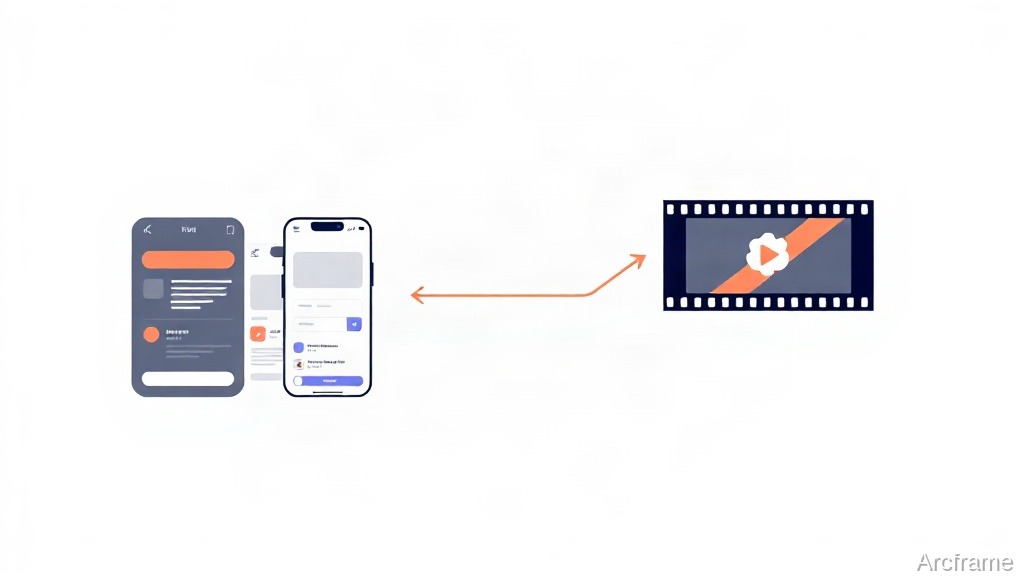
You can make a narrated product demo video from a handful of screenshots alone, with no screen recording at all: upload the screenshots, and a screenshot-to-video pipeline plans a scene-by-scene script, writes the narration line for each screen, generates the voiceover, and renders the sequence into one finished video with transitions between screens.
This matters because screen recording is the slow part of making a demo video, not the editing. You have to open the product, click through it cleanly in one take (or several takes stitched together), record a voiceover separately, then sync the two. If you already have clean screenshots — from an app store listing, a design file, or a marketing folder — that entire recording step disappears.
The four-step pipeline: plan, write, speak, render
A screenshot-to-video tool works in four distinct steps, and seeing them separately is what makes the output editable instead of a black box:
| Step | What happens | Can you intervene? |
|---|---|---|
| Plan | The screenshots are put in order and a scene structure is drafted — what each screen is showing and where it sits in the story. | Reorder or drop screens before writing starts. |
| Write | A narration line is written for each scene, matched to what's visible in that screenshot. | Edit any line before it's spoken — fix product names, tone, or claims. |
| Speak | Each line is turned into audio with a chosen voice. | Re-run just this step after editing a line, without re-planning. |
| Render | Screens, narration, transitions, and (optionally) background music are assembled into one video file. | Change the template or transition and re-render without redoing the narration. |
The practical benefit of the split is that a bad line in scene four doesn't mean starting over — you fix that line and re-render, the same way you'd fix a typo in a slide rather than rebuilding the deck.
What you can control before it renders
- The script. Every generated line can be edited before it's spoken, so you can correct a feature name, tighten a sentence, or remove a claim you don't want in the video.
- The voice and language. Narration doesn't have to be in English — the same pipeline can speak in Hindi, Tamil, Telugu, and eight other Indian languages, which matters if the demo is for a regional sales team or a local app store listing.
- The look. Template, card style, and scene transitions are a separate setting from the narration, so you can try three visual styles on the same script without regenerating any audio.
- Background music. A mood is picked once, generated once, and then carried into every re-render after that — you don't pay to regenerate music every time you tweak the video.
Screenshot-to-video vs. recording your screen
These solve overlapping but not identical problems, and picking wrong costs you time either way:
| Screenshot-to-video | Screen recording + editing | |
|---|---|---|
| Starting material | Static screenshots you already have | A live, clickable run-through of the product |
| Shows cursor movement / clicks | No | Yes |
| Shows real, dynamic app state (live data, animations) | No — the screen is frozen at the moment of the screenshot | Yes |
| Time to a narrated first draft | Minutes, once screenshots are ready | A recording take plus a separate voiceover and edit pass |
| Best for | App store previews, landing page demos, feature-highlight ads, sales enablement decks built from screenshots | Live walkthroughs, onboarding tutorials, bug reports, anything where clicking matters |
What this can't do
Say the limitation up front rather than letting someone find it after they've committed: a screenshot-to-video pipeline narrates static images, not live interaction. It cannot show a cursor moving, a button being pressed, a dropdown opening, or a page transition inside the product itself — the video's motion comes from transitions between whole screens, not from anything happening within one screen. If the point of your demo is "watch me click this and see what happens," you need a screen recording, not a screenshot sequence. If the point is "here's what the product looks like and why each screen matters," screenshots are enough and are considerably faster to produce.
It also depends entirely on the quality of the screenshots you feed it — a blurry, low-resolution, or inconsistent set of screenshots produces an equally uneven video, since there's no recording step to fall back on for missing detail.
Getting started
The screenshots can come from a public image URL or be uploaded directly. From there the plan → write → speak → render sequence runs on its own, and each step can be revisited before you commit to a final render. New accounts start with 20 one-time credits with no card required, and current model and pricing details are listed on the pricing page.
If your product already has decent screenshots sitting in a marketing folder or an app store listing, that's a demo video's first draft waiting to happen — no camera, no recording software, and no separate voiceover session required.